
Advanced Settings
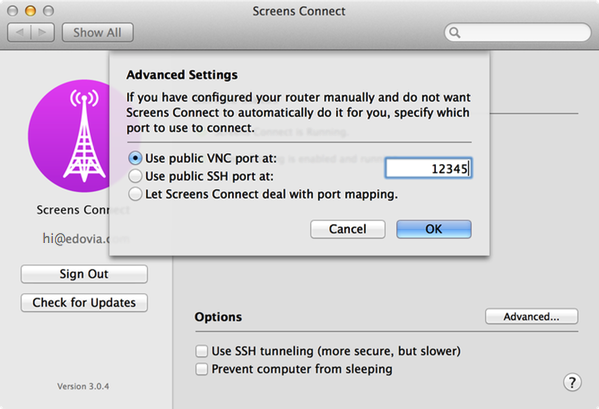
If for some reason UPnP or NAT-PMP is not enabled or available on your router or if you prefer to take care of the port forwarding aspect yourself (assuming you know what you're doing), you can click the "Advanced..." button to open the Advanced Settings window:
![]()
You can specify which public port to use for either VNC or SSH. The SSH option will not be enabled if Remote Login isn't enabled in System Preferences → Sharing.
Select “Let Screens Connect deal with this.” if you want the port mapping to be done automatically through UPnP or NAT-PMP, depending on which is supported by your router.
Set a Static IP Address
If that's not already the case, we recommend that you set a static IP address to your computer since it can change from time to time. To learn more about this, we suggest that you consult Port Forward under Guides → Static IP to learn how to proceed for your Operating System.
Enabling Port Forwarding Manually on your Router
Below, we'll demonstrate how to do this on an Apple Airport Extreme. The method shown will differ from a router to another so we highly suggest you visit the excellent Port Forward website, which includes detailed instructions (see Guides → Port Forwarding) for many router brands and models.
For the purpose of our example, we'll use port 12345 but you could set any port that is allowed by your router.
Also, some phone carriers are known to block non-standard ports so we suggest to use a common port, such as 80, 443, 22, 8080, etc.
Open Airport Utility click on your router and click the “Edit” button.
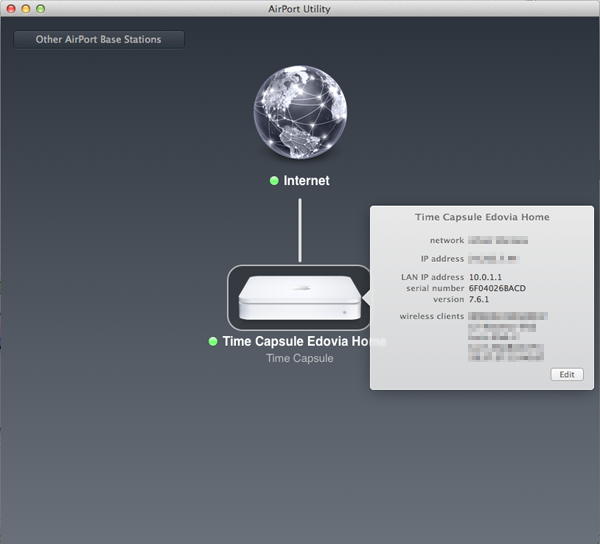
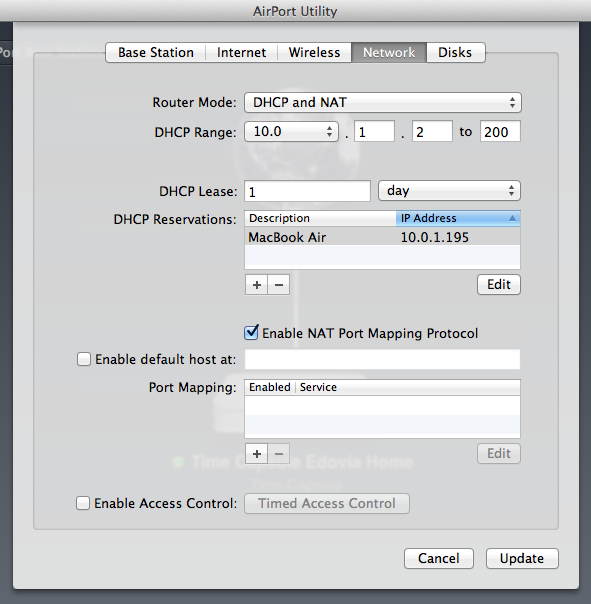
Select the “Network” tab and next to “Port Mapping:”, click on the [+] button to add a new mapping.
Select a service and enter the desired public port number and the private port to which it should be mapped.
Enter your computer's IP address so that the router knows to which address to forward requests to the public port.
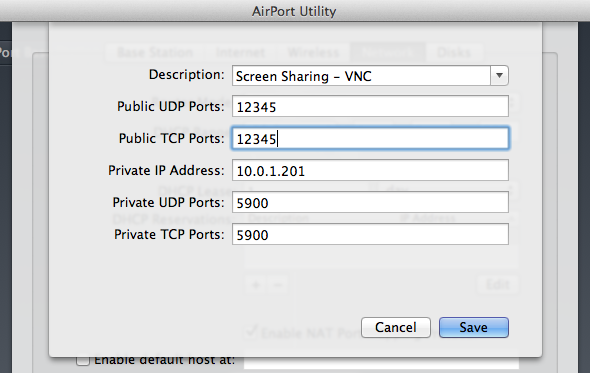
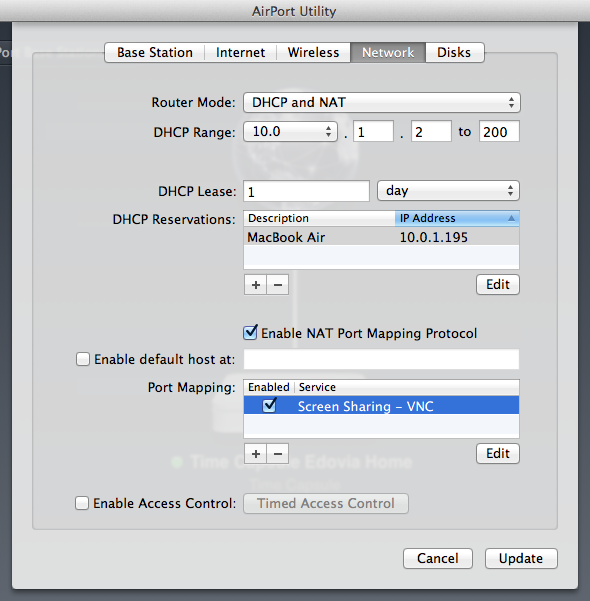
Click on Save and Update to apply the changes to your Airport Extreme.
Once your router is ready, open System Preferences and click on the Screens Connect icon.
Click on the “Advanced…” button.
Enable the public port you've just added on your router and type it in the text field.
Click OK.
Screens Connect will then update our server with the new information. Once this is completed, open Screens on your iOS device and change the port to the public one you've just created.