
Installation
Download Screens Connect from https://screensconnect.com/d.
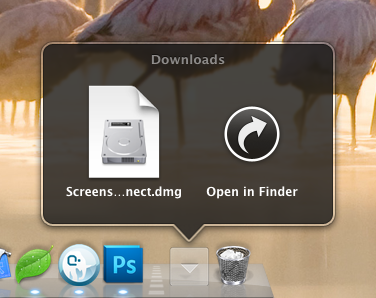
Open the DMG file.
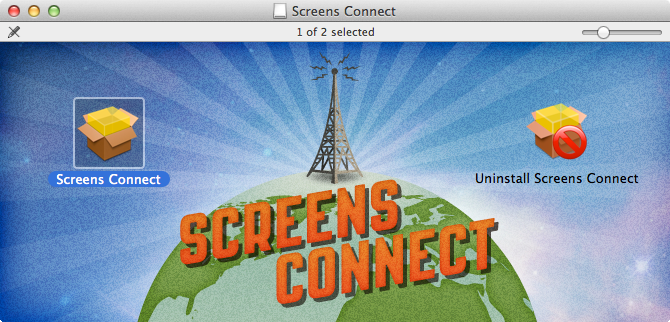
Double-click on the «Screens Connect» package.
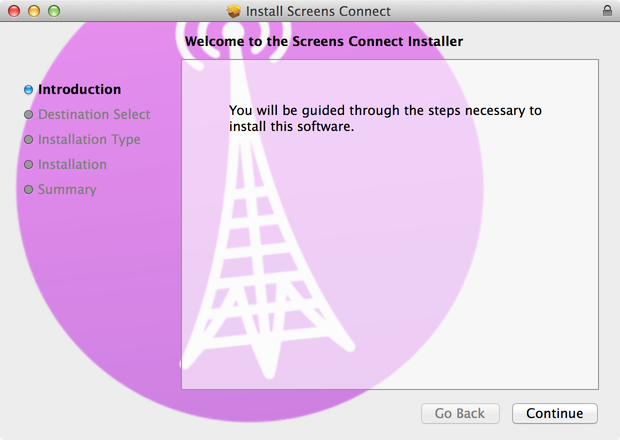
Follow the installation instructions. Note: You will need administrative privileges to install Screens Connect.
Once the installation is completed, open System Preferences and click on the «Sharing» icon.
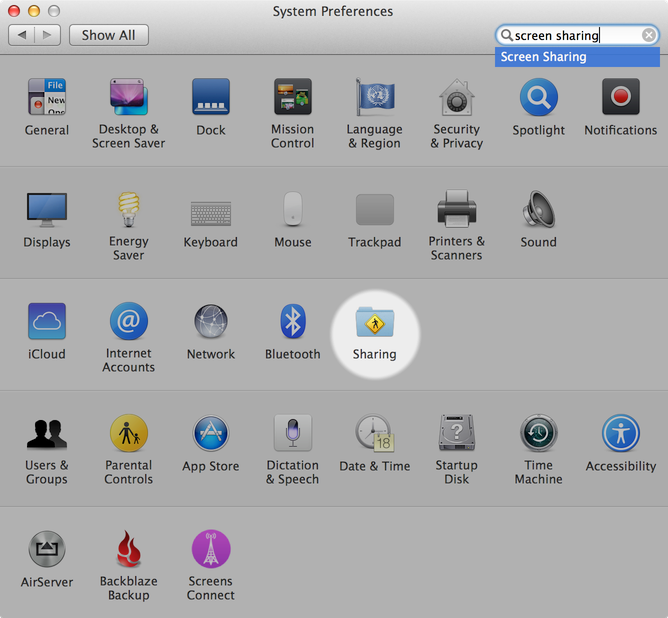
Make sure that «Screen Sharing» is enabled and properly configured.
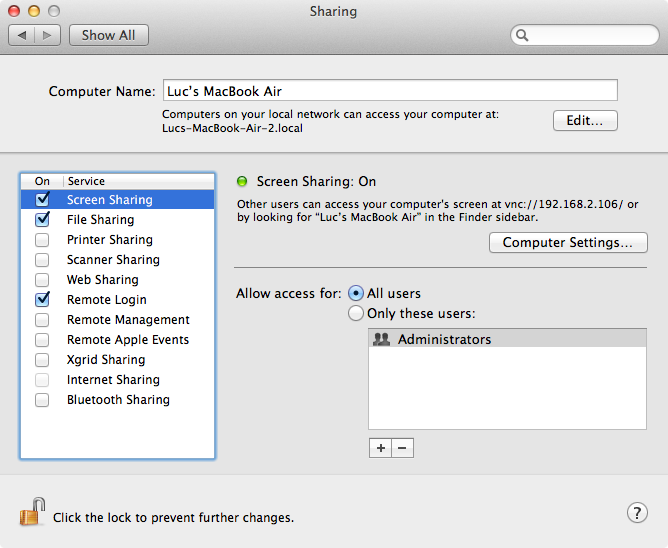
If you wish to use a SSH Tunnel with Screens Connect, make sure that «Remote Login» is enabled and properly configured.
Configuration
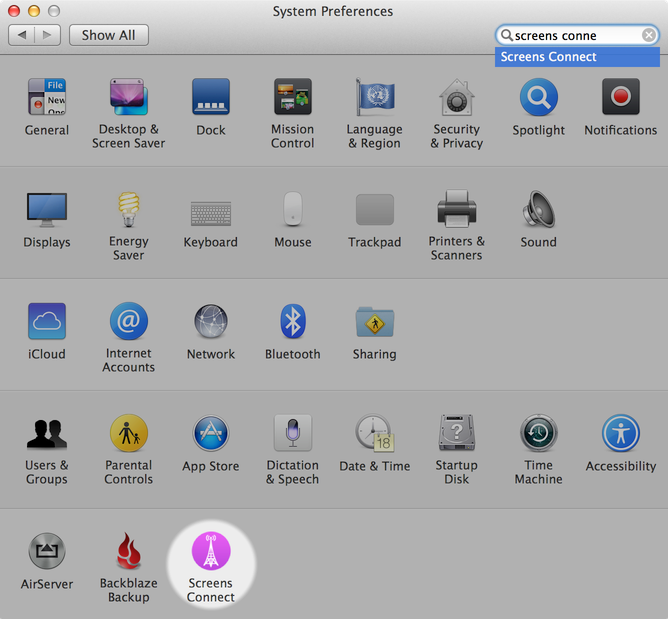
Open System Preferences (click on «Show All» if already opened) and click on the Screens Connect icon.
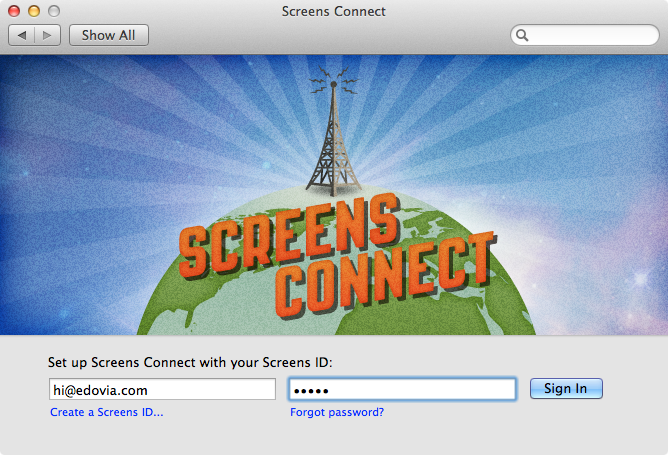
If you do not have a Screens ID already, click on the «Create a Screens ID…» link and follow the instructions.

- Once your Screens ID has been created and validated, go to Step 2.
Enter your Screens ID and password to sign in. This is only required once.
The settings view should now appear.
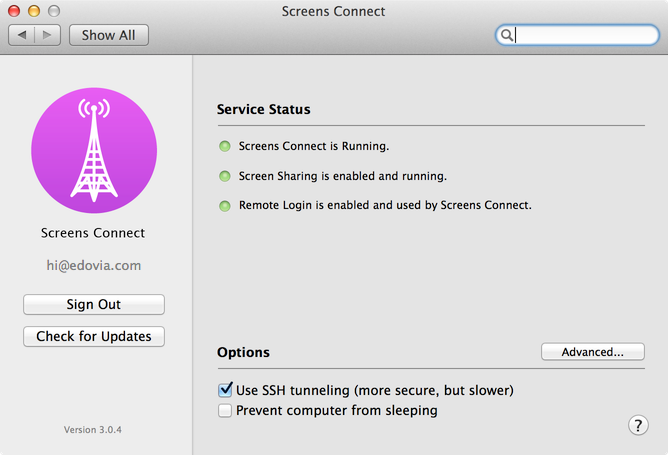
If everything is properly configured, you should see that all services are green.
Installation and configuration on your Mac is now complete.
UPnP/NAT Port Mapping
If Screens Connect indicates that UPnP or Port Mapping is not available, make sure that the service is enabled on your modem/router:
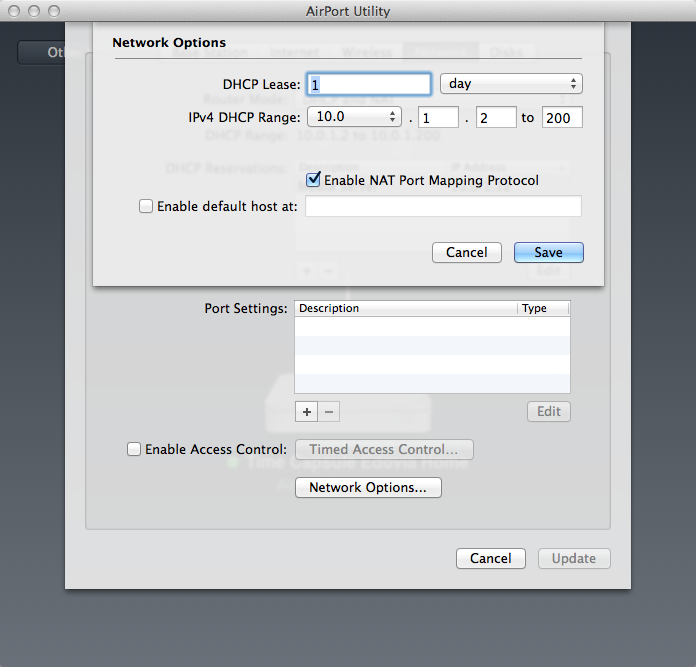
To know how to enable UPnP/NAT Port Mapping on your router, please consult the manufacturer's user guide or fill out this form to perform a search on the Internet.